
Tokyo Wind Chime Workshop: Make Your Own Edo Furin From Scratch
Wind chimes in Japan aren’t just pretty sounds for summer. They carry tradition, history, and a personal story. At this Japanese craft workshop, you can make your own.
During our time in Tokyo last year, we found this small local workshop that lets you craft a wind chime from scratch using techniques passed down for generations. We knew we had to try it.
Turns out, it was one of our favorite experiences. So fun, super hands-on, and we got to take home a one-of-a-kind souvenir we actually made ourselves.
Here’s everything you need to know about making your own Edo wind chime at Shinohara Furin Honpo.
Plan your trip with our favorite resources
Where to Stay in Japan: check best deals
Transport & activities: klook.com (save up to 10% with code DANAYAO)
eSIM for Japan: stay connected with Airalo
What is an Edo Wind Chime?
Edo wind chimes, or 江戸風鈴, are delicate glass chimes with deep roots in Japanese tradition. They actually started in China as a way to read fortunes based on wind direction.
But in Japan, they evolved into something more, believed to protect from bad luck and bring in good vibes.
The glass version started showing up in the 1700s and was considered super fancy back then because glass was rare and expensive. Over time, they became more popular and more affordable, especially in Edo (what we now call Tokyo).
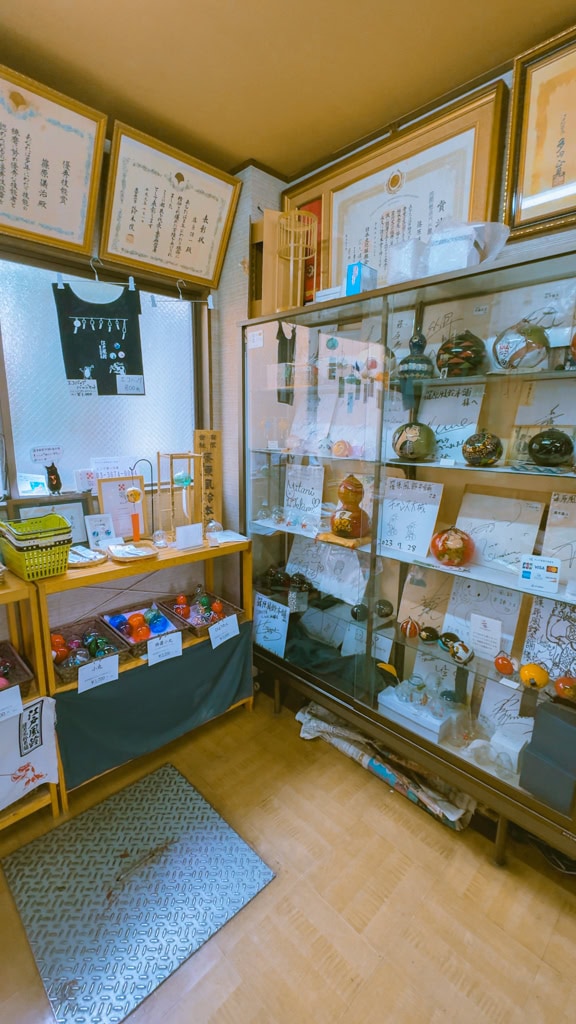
The Edo wind chimes you see today were made famous by a little workshop called Shinohara Furin Honpo. Each one is still handmade, and no two sound exactly alike.
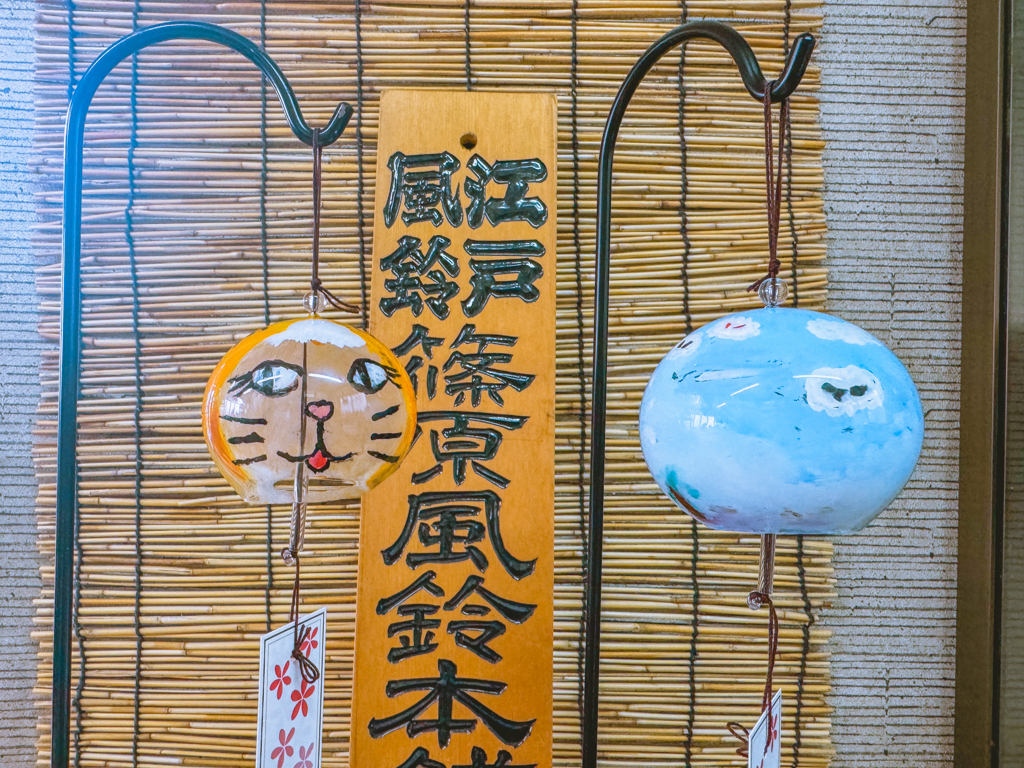
About Shinohara Furin Honpo
Tucked away in Tokyo’s Edogawa Ward, Shinohara Furin Honpo (篠原風鈴本舗) has been making Edo wind chimes since 1915. It’s a small, family-run workshop that’s been passing down the same techniques for over 100 years.
Every chime is handmade on-site using traditional Edo-era methods. That means no mass production, just generations of skill and care in each one.
They also show up at local festivals and seasonal wind chime displays across Japan, keeping the craft alive.
And if you’re lucky, you might spot the shop’s unofficial mascot, a shy little black cat that sometimes pops out to say hello.
Making Your Own Edo Wind Chime
Shinohara Furin Honpo offers two ways to make your own wind chime. You can either do the full glass blowing and painting course, or just the painting part.
We went all in and did the full experience, which we totally recommend if you want to see the whole process from start to finish.
Step 1: Blowing the Wind Chime
The experience kicks off in the furnace room. It’s hot, over 1,300°C, and feels like stepping into a mini volcano. The staff gives a quick demo, showing how to blow air into molten glass and shape it into a perfect little sphere.
Then, it’s your turn. You’ll hold a long glass rod and blow slowly to inflate the glass into the sound chamber.
It’s harder than it looks. Blowing too hard and the shape flops. Too soft and nothing happens. My first try was a mess. But by the third go, I had something round-ish that actually worked.


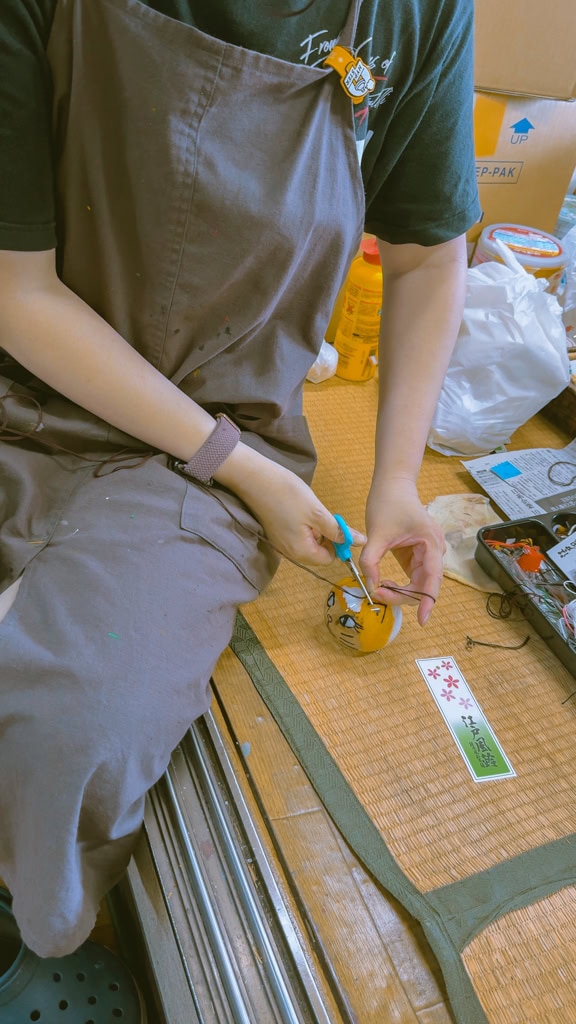
Step 2: Cooling and Preparing the Wind Chime
Once your chime is blown, it needs a few minutes to cool. During that time, the staff trims and shapes the sound hole, then preps it for painting.
You will also get a painting set and brushes for the next step.


Step 3: Painting and Decorating the Wind Chime
Now it’s time to get creative. You can paint whatever you like, flowers, animals, summer scenes, your favorite sushi roll. It’s all up to you.
You’ll be painting on the inside of the glass. It’s a little trippy, like doing art in reverse. What you paint first shows up on the outside, so you have to plan your layers carefully.
It takes some patience and a steady hand, especially if you’re going for something detailed. But it’s such a cool process and the results feel really personal.
The staff is super helpful and will walk you through how to get your design just right. I painted a cat inside mine, which was a bit of a challenge since everything is backwards, but it turned out so cute.
This part feels calm and meditative. You’re just sitting there, brush in hand, adding your own story to a piece of glass that you made. It’s kind of magical.


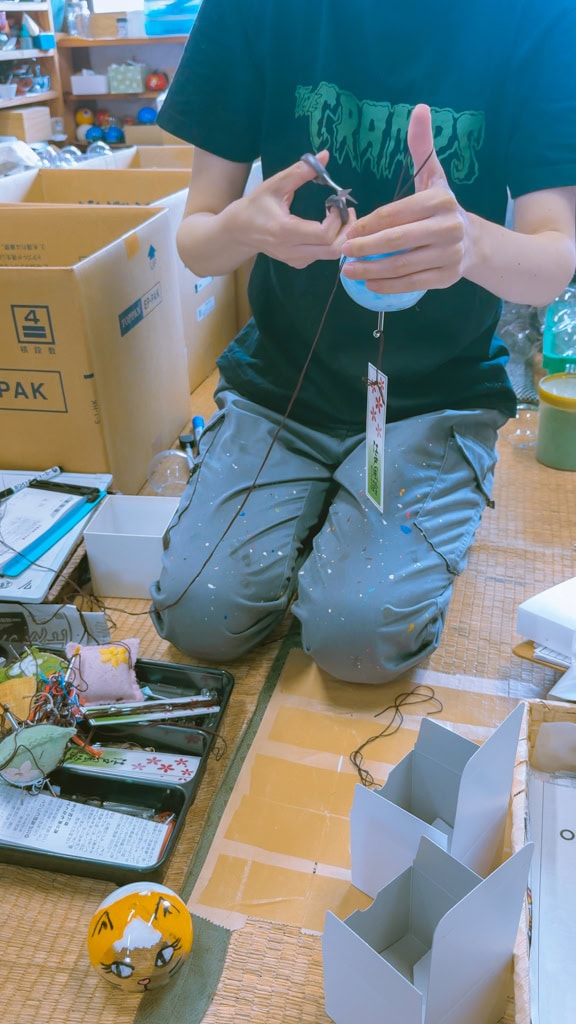
Step 4: Assembling the Wind Chime
Once your painting is finished, the staff takes over to assemble the final piece. They’ll carefully attach the string, clapper, and paper tag that gives the chime its voice.
They’re really gentle with the glass and make sure everything is perfectly balanced so the sound comes out clear and lovely. You’ll also get special packaging if you’re planning to bring it home in your suitcase or carry-on. Just let them know, and they’ll wrap it extra secure.
Before you leave, you can snap a photo of your finished wind chime at the little photo station in the shop. It’s such a satisfying moment seeing it all come together.
Reserve Your Spot for This Wind Chime Experience
Shinohara Furin Honpo now takes online reservations, but fair warning, the system can be a little clunky.
If you speak Japanese or can get help from someone who does, calling ahead is still the best bet. Phone reservations get priority.
To get there, it’s about an hour from Tokyo Station. The easiest way is to use the Tokyo Metro or Toei subway lines. We recommend grabbing a Tokyo Metro pass if you’re exploring for the day, it saves money and makes hopping around easier.
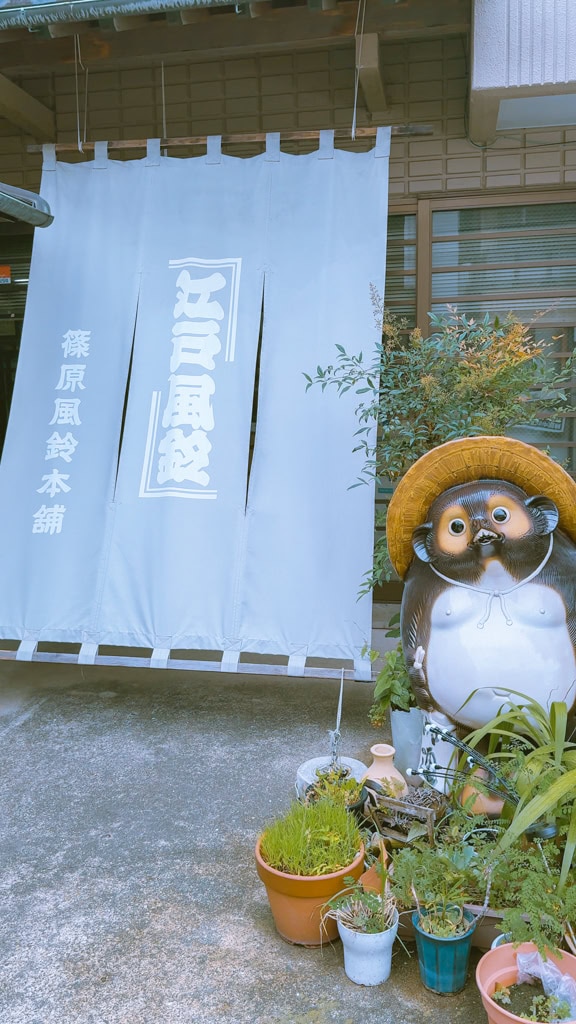
Once you arrive, just head to the workshop. It’s in a quiet residential area, so follow the map carefully and look out for the cute wind chime sign at the entrance.
How Much Does It Cost
There are two options for making your own Edo wind chime at Shinohara Furin Honpo:
- Painting only: 1,800 yen per chime
- Glass blowing + painting: 2,400 yen per chime
You’ll pay when you get there. They accept cash, card, and a few digital payment apps, so you’ve got flexibility.
Honestly, for a hands-on cultural experience and a handmade souvenir, it’s a great deal.
Tips to Enjoy the Wind Chime Workshop
Mind the sound hole: Don’t paint over the chiseled part. It affects the sound quality, and you want that crisp chime ring.
Be on time: This isn’t the kind of place you want to rush into. Arriving a little early gives you time to settle in. It’s likely that there are other people in the same time slot, they will start on time.
Ask questions: Got a design idea? The staff is super friendly and loves helping with paint techniques or layout tips.
Shop a little: Before you leave, check out the premade wind chimes downstairs. They make great gifts, and each one is totally unique.
Plan for 60 to 90 minutes: The full experience takes around an hour and a half, but it flies by. The painting-only course is a bit quicker.
Conclusion
Making an Edo wind chime at Shinohara Furin Honpo was one of our favorite things we did in Tokyo. It’s fun, creative, and super personal.
You walk in, learn something new, get your hands dirty, and leave with a souvenir that actually means something. It’s not just another thing you bought, it’s a piece of your trip you made yourself.
If you’re looking for something low-key, cultural, and a little off the usual tourist path, this workshop is a must.
You must be logged in to post a comment.