6 Things to Do After Landing in Japan: Your First Hour, Airport Tips, and Arrival Essentials
Landing in Japan for the first time feels like a dream. The signs, the silence, the vending machines…it’s a full sensory shift.
I still remember that first moment walking through Haneda Airport: tired, excited, and totally overwhelmed by how everything looked familiar but not. We had no idea what we were doing, and we learned most of it the hard way.
Fast forward several years and many return trips later, arriving in Japan now feels smooth and familiar. The steps are clear, the routine is set, and we can go from touchdown to train platform without missing a beat.
So if you’re heading to Japan for the first time (or the first time in a while), this guide will walk you through exactly what to do after you land: the essentials that’ll set you up for a stress-free start to your trip.
Plan your trip with our favorite resources
Where to Stay in Japan: check best deals
Transport & activities: klook.com (save up to 10% with code DANAYAO)
eSIM for Japan: stay connected with Airalo
1. Navigating Immigration and Customs
Once you step off the plane, just follow the signs (and the crowd) toward immigration. It can feel chaotic if you’ve been flying for 10+ hours and your brain’s a little fried, but it’s all well-marked and pretty easy to follow.
Have your passport and immigration QR code ready (or fill out the forms on the plane if you didn’t do it in advance).
The officer will ask a couple of simple questions: where you’re staying, how long you’re visiting…and then stamp your passport.
Next up: baggage claim. Look for the monitors to see which carousel your luggage will be on. If you checked anything oversized (like a snowboard or giant tripod), it’ll be on a separate belt for oversized items.
Then comes customs. You’ll hand in your yellow customs form or QR code, they’ll ask what you’re bringing in, and that’s it. Most of the time, it’s quick. Every now and then, they’ll ask to open your bag, just be honest, answer calmly, and you’ll be on your way.
The moment you walk through those sliding doors: welcome. You officially made it to Japan.
2. Getting Your Japanese Yen
First stop after customs? Cash. Japan still runs on it way more than you’d think. Your best bet is to skip the exchange counters (they’re slow and usually offer bad rates) and head straight to an ATM or a convenient store.
There are plenty inside the airport: look for ones at 7-Eleven, FamilyMart, or Japan Post. These international ATMs usually work with foreign debit cards, and you can pull out yen directly with a better rate than you’d get at a currency counter.
We usually test one or two machines to compare rates, but if you’re tired, just use the first 7-Eleven ATM you see and move on. It’s reliable, quick, and works more often than not.
Don’t worry about withdrawing everything at once. You’ll find more ATMs everywhere in the city, especially in konbinis (convenience stores), which are on basically every corner.

3. Getting Connected in Japan
You’ll want internet as soon as you land: not just for maps and train times, but for everything from translation apps to texting your family.
If you already have an international plan or preloaded an eSIM, you should be connected right after landing. Just double-check your signal and make sure roaming is on.
eSIMs are a great low-hassle option if your phone supports them: no hardware, no pickup counters, just set up on your phone and go. We’ve used this on recent trips and it worked great.
If not, no worries. You can also rent a pocket WiFi and pick up at the airport. We highly recommend you pre-reserve to be sure it’s in stock when you show up.
These small devices connect multiple phones and stay charged all day, perfect if you’re traveling in a group or using multiple devices. And the downside…you guessed it, now you end up with one more electronic device to charge and carry at all times.
Airport signage will guide you to SIM card and WiFi rental counters right after customs. Staff can help get you set up in minutes. And if you’re not sure which one’s right for you, check out our Pocket WiFi Guide for pros, cons, and our top picks.

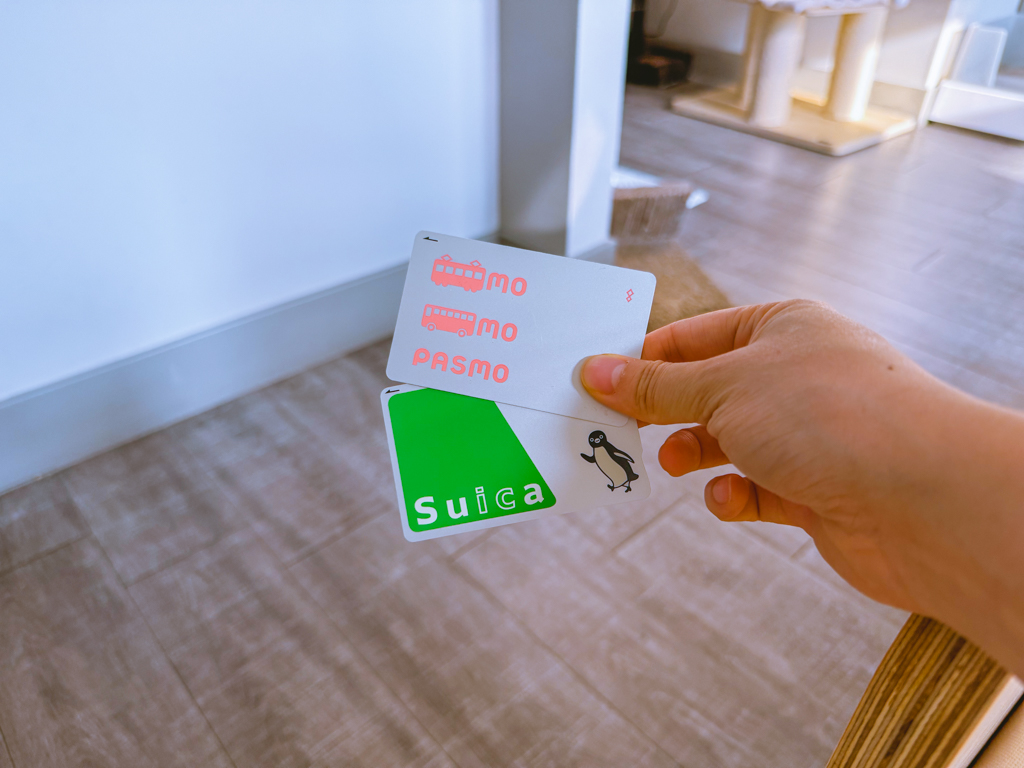
4. Essential Transportation Cards: Suica and Pasmo
Before you leave the airport, grab an IC card (either a Suica or Pasmo) to make public transportation and even convenience store stops way easier.
You’ll find machines or counters selling them right in the arrival area. If you’re landing at Haneda Terminal 3, look out for the Welcome Suica, a tourist version with no deposit and easy setup.
Load a few thousand yen onto the card, and you’re good to hop on the train straight from the airport. No fumbling with tickets every time. It’s fast, simple, and one of the best travel tools in Japan.
Don’t want to carry the physical card? You can also set up Mobile Suica or Mobile Pasmo on your phone. It works the same way as the digital card: you just tap you phone at the train gate instead of the card.
5. Hassle-Free Luggage Transport
Don’t want to drag your suitcase through three train transfers just to check in? Same. One of our favorite Japan travel hacks is using a luggage delivery service right at the airport.
You’ll find the counters just after customs: look for Yamato Transport (look for the black cat logo) or JAL ABC. You give them your hotel info, fill out a short form, and they’ll deliver your bags straight to your hotel, sometimes even same-day. It’s reliable, surprisingly affordable, and lets you start exploring luggage-free.
This is the move if you’re heading somewhere far (like Kyoto), have a tight schedule, or just don’t want to haul your suitcase through Tokyo Station. We use it often and it saves us so much time and stress.

6. Choosing Your Transportation Out of the Airport
Once you’ve got your bags (or better yet, sent them ahead), it’s time to get into the city. And depending on your airport, budget, and travel style, there are a few good options.
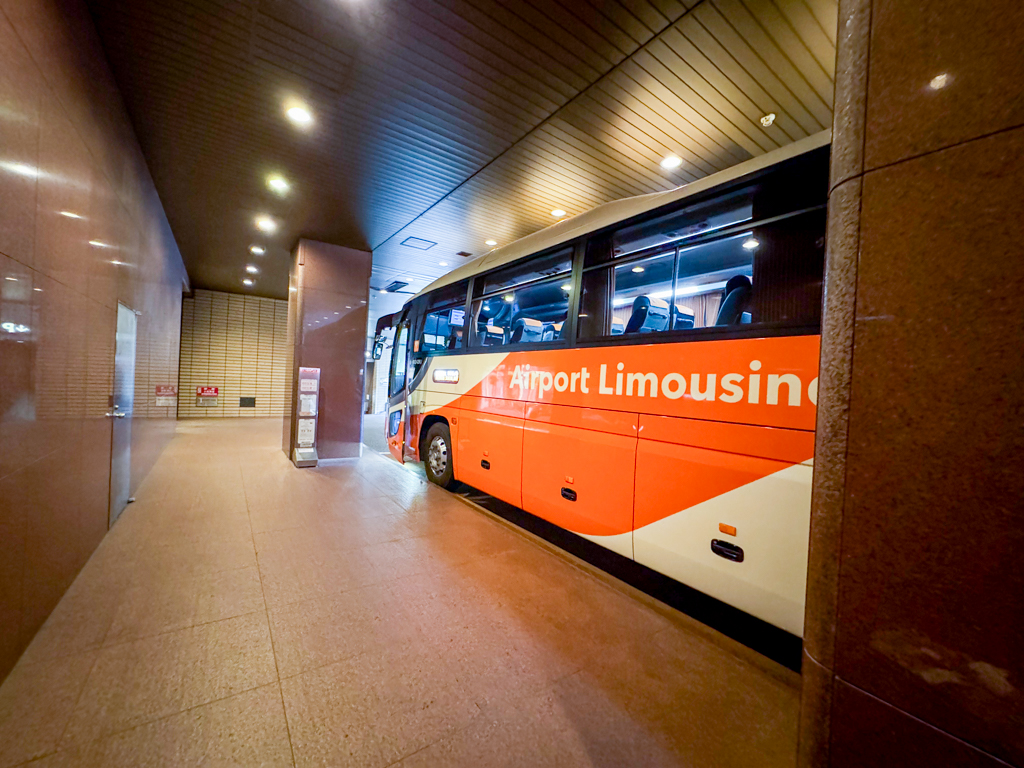
Limo Bus
Easy, comfy, and no transfers. Airport limousine buses run directly to major hotels and stations across Tokyo and beyond. You can pre-book online or buy a ticket at the airport counter. Seats are reserved, there’s space for your luggage, and most buses have WiFi.
Best for: travelers with larger bags, families, or those staying at major hotels.
Price: Around 3,000–4,000 yen depending on your destination.
Train
If you’re comfortable navigating Japan’s rail system, this is usually the fastest way into the city.
From Narita: The Narita Express (N’EX) takes you to Tokyo Station, Shibuya, or Shinjuku in just under an hour. The Keisei Skyliner is another great option to Ueno or Nippori.
From Haneda: Use the Keikyu Line to Shinagawa, or the Tokyo Monorail to Hamamatsucho, both connect easily to other train lines.
Buy your ticket at the airport, or use your IC card if it’s already set up.
Shared Shuttle
Want a door-to-door option without the taxi price? Shared airport shuttles are a great middle ground. You book ahead, find your meeting spot in the terminal, and ride with a few other passengers heading in the same direction.
Price: Usually 5,000–8,000 yen depending on where you’re going.
Taxi or Rental Car
If you want full control and zero waiting, you can grab a taxi or rent a car at the airport, just know it’s the most expensive option.
Taxis to central Tokyo from Narita can run 20,000–30,000 yen (or more with tolls).
Renting a car is great if you’re heading straight to the countryside or planning a road trip.

Tips for Traveling in Japan
You’ve made it through immigration, got your yen, grabbed WiFi, and figured out how to get to your hotel. Now what? Here are a few things that make a big difference for first-timers.
Pack Light…Seriously
It’s tempting to bring your whole closet, but Japan’s trains and sidewalks aren’t always suitcase-friendly. Pack what you can comfortably carry, and leave room for souvenirs. You’re going to buy snacks and souvenirs. Just accept it.
Bring (or Buy) a Coin Pouch
Cash is still king in a lot of places, and Japan uses coins all the way up to 500 yen (~$3). Having a little pouch for loose change keeps you from doing the awkward wallet-fumble at the register.
Download a Translation App
Even if you speak a little Japanese, having Google Translate or another app on your phone is a game changer. Bonus tip: download the language pack so it works offline, and use the camera function for signs and menus.
Stay Organized
Keep your passport, itinerary, train passes, and hotel info in one place in advance. We love a good travel folder (physical or digital) so you’re not digging through emails when you’re jetlagged and trying to figure out where to go next.
Respect Local Customs
We get it…Japanese etiquette can feel like a rulebook. But the truth is, you don’t need to know everything. Just observe what others are doing and follow their lead.
Japan is a high-context culture, so silence in trains, polite nods, and not talking on your phone in public go a long way. And please, don’t be the loud foreigner everyone side-eyes.
If you are all settled and ready to explore, check out 47 unique things to in Tokyo!
Conclusion
That first hour in Japan can feel like a blur: jet lag, new signs, unfamiliar systems…but trust us, once you’ve made it through the airport, things get so much smoother.
We’ve been there, staring blankly at a Suica machine or wondering if we were holding up the customs line (we probably were). But now? It’s second nature and that’s what this guide is here to give you.
Follow these steps after landing and you’ll walk out of the airport with cash in hand, data on your phone, and zero luggage stress. Getting the basics right makes the whole journey feel more intentional.
Welcome to Japan, and your adventure officially starts now.
You must be logged in to post a comment.